
Fool-Proof Sourdough Sandwich Bread Recipe
We may earn a commission for purchases made using our links. Please see our disclosure to learn more.
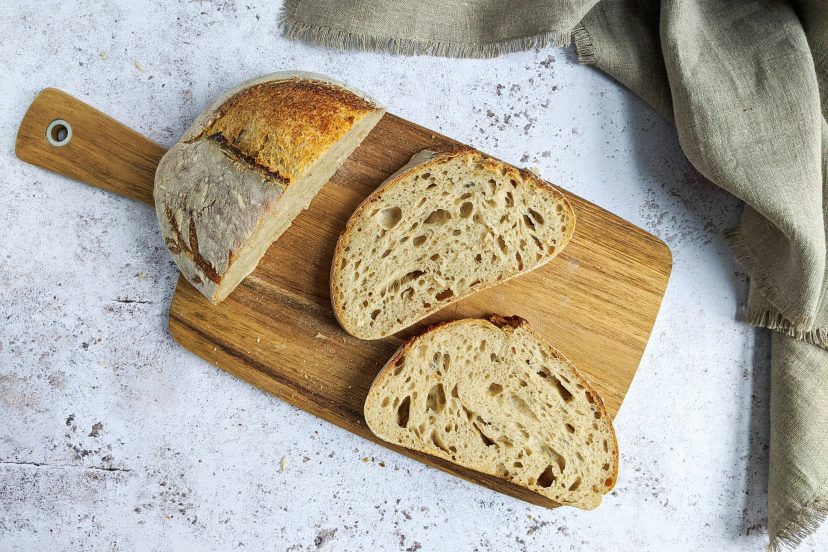
If you love sourdough but want something softer than a crusty artisan loaf, this sourdough sandwich bread recipe is the one to keep. It gives you that gentle sourdough flavor, but the texture stays fluffy, tender, and easy to slice.
This is the kind of loaf you can use for toast, grilled cheese, lunch sandwiches, French toast, or a quick buttered slice while it is still slightly warm. No complicated shaping. No fancy scoring. No baking stone required.
What Makes This Sourdough Sandwich Bread Fool-Proof?
A classic sourdough boule can feel intimidating because it depends on open crumb, steam, scoring, and shaping tension. Sandwich bread is much more forgiving.
This loaf bakes in a standard loaf pan, so the pan supports the dough as it rises. The recipe also uses a little butter and honey, which help create a softer crumb and a mild flavor.
You still get natural fermentation from the sourdough starter, but the final bread tastes balanced rather than sharply sour.
If you already enjoy homemade breads like this Italian-inspired sourdough focaccia recipe, this sandwich loaf is a softer, more practical everyday version.
Ingredients You’ll Need
For one standard loaf, you will need:
- 100g active sourdough starter
- 250g warm milk
- 30g honey or sugar
- 40g softened butter
- 500g bread flour
- 9g fine sea salt
Use an active starter that has been fed recently. It should look bubbly, slightly domed, and smell pleasantly tangy. If your starter smells weak or has not risen after feeding, give it another refresh before baking.

Step-by-Step Sourdough Sandwich Bread Recipe
1. Mix the Dough
In a large bowl, combine the sourdough starter, warm milk, honey, and softened butter. Stir until mostly combined.
Add the bread flour and salt. Mix until a rough dough forms. It may look a little shaggy at first, and that is okay.
Leave the dough undisturbed for 20 to 30 minutes so the flour has time to hydrate. This short rest makes the dough much easier to knead.
2. Knead Until Smooth
Knead by hand for about 8 to 10 minutes, or use a dough hook on a stand mixer for 5 to 7 minutes.
The finished dough should feel soft, stretchy, and lightly sticky, not loose or overly wet. If it sticks too much, mix in flour one tablespoon at a time. Be careful not to add too much, however, as extra flour can make the loaf dry.
3. First Rise
Place the dough in a bowl coated with a little oil, then cover it with a damp towel or reusable lid.
Let it rise at room temperature for 6–8 hours, or until it is puffy and has risen by 50–75%. It doesn’t always need to fully double.
Warm temperatures help the dough rise faster, while a cool kitchen extends the process. Pay attention to how puffy the dough looks instead of relying only on the suggested time.
4. Shape the Loaf
Turn the dough out onto a working surface that is lightly dusted with flour. Press it down gently into a rectangle.
Roll it up tightly from the short end like a rug. Pinch the seam together, then put it, seam-side down, in a greased 9×5-inch loaf pan.
Attempt to keep the surface as smooth as possible, but don’t worry if it’s not perfect. Sandwich bread is kind.
5. Final Rise
Cover the pan and allow the dough to rise again for 2~4h. When the bread has risen approximately 1 inch above the rim of the tins, it’s ready.
The dimple you make when you press the dough with the floured finger should slowly bounce back. When it bounces quickly, More time needed. If it falls, it is a sign that it has over proofed, but you can still bake it.
6. Bake
Heat the oven to 375°F.
Bake the loaf for 35 to 40 minutes, until the crust is evenly golden. For best accuracy, test the center with an instant-read thermometer. It should be close to 190°F.
Brush the top with a little butter for a softer crust, if desired.
7. Cool Before Slicing
This is what I believe – the most difficult part, and the most necessary. Leave it in the pan for 10 minutes after baking, then transfer it to a wire rack to finish cooling.
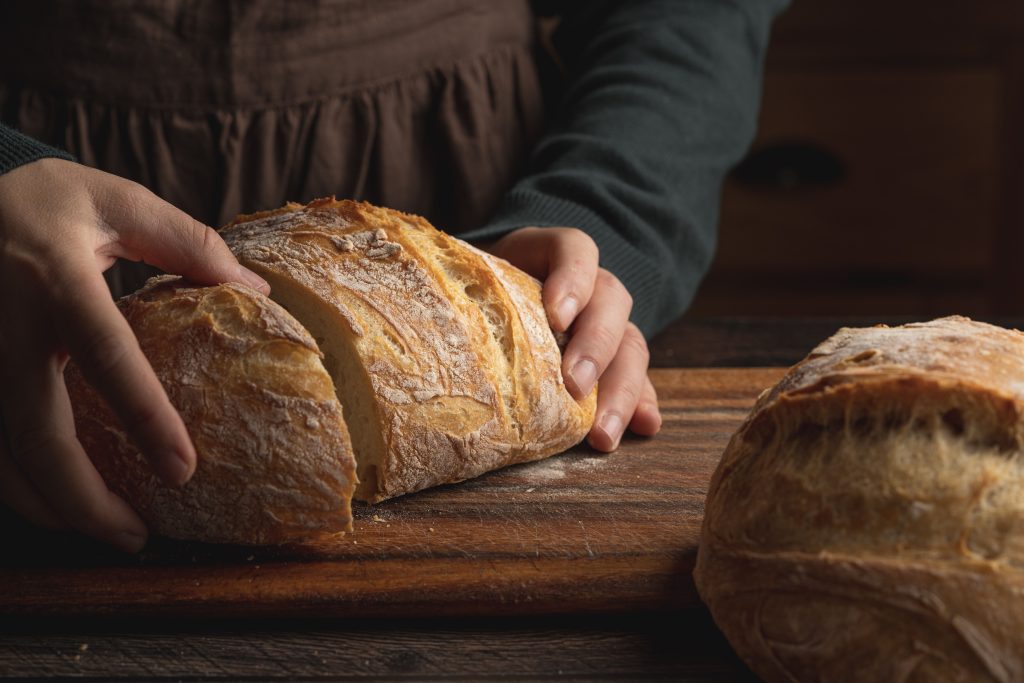
Allow to cool for at least 1 hour before slicing. Butter your toast buttery warm bread smells so good but cutting too soon can make the crumb gummy.
Tips for Soft, Sliceable Sandwich Bread
Use bread flour if you can. Bread flour helps create a sturdier loaf with a pleasantly chewy texture.
Do not rush the rise. Sourdough works slowly, and that slow fermentation builds flavor and texture.
Also, keep the dough soft. A dry dough usually leads to a tighter, heavier loaf.
If you want a richer loaf, replace 1 tablespoon of milk with 1 egg yolk. If you want a lighter crust, tent the bread loosely with foil during the last 10 minutes of baking.
How to Store Sourdough Sandwich Bread
Store the cooled loaf in a bread bag or airtight container at room temperature for 3–4 days.
Slice the loaf and freeze for longer storage. If you want to remove them one at a time, place parchment between slices.
To refresh frozen slices, toast them right from the freezer. They come back beautifully.
Recommended Products
Here are five helpful Amazon products for making this Sourdough Sandwich Bread Recipe easier and more consistent:
- King Arthur Unbleached Bread Flour – Great flour makes a noticeable difference in homemade bread. This recipe uses bread flour which gives the loaf better rise and structure.
- USA Pan Loaf Pan – A sturdy loaf pan helps the bread bake evenly and hold a classic sandwich shape.
- OXO Good Grips Bench Scraper – Helpful for shaping dough, cleaning counters, and dividing sticky bread dough without frustration.
- ThermoPro Instant Read Thermometer – This removes guesswork and helps you avoid underbaked bread.
- Cambro or Rubbermaid Dough Rising Container – A clear container makes it easier to see how much your dough has risen.
Research-Backed Notes on Sourdough
Sourdough is not just trendy. Fermentation can change the way bread tastes, feels, and digests.
A systematic review in Advances in Nutrition found that sourdough’s potential benefits depend on the flour, fermentation conditions, and starter culture, but some studies showed improvements in glycemic response, satiety, or digestive comfort after eating sourdough bread. You can read the review on the nutritional benefits of sourdoughs.
Another study published in Nutrients compared sourdough breads with baker’s yeast bread and found that sourdough breads produced different post-meal digestion and glycemic responses. The researchers also noted that fermentation time and acidity mattered. Read more about how sourdough fermented breads may affect digestibility.
That does not mean sourdough is magic. It simply means the fermentation process can influence texture, flavor, and how the bread behaves in the body.
Conclusion
This sourdough sandwich bread recipe is simple, soft, and reliable enough for everyday baking. It gives you the flavor of sourdough without the fuss of an artisan loaf, and it works beautifully for toast, packed lunches, and cozy homemade sandwiches. Once you make it a few times, you can adjust the sweetness, rise time, or flour blend to match your kitchen. That is the fun part of sourdough: every loaf teaches you something.
FAQs
1. Can I make sourdough sandwich bread without a stand mixer?
Yes. Knead it by hand for about 8–10 minutes. Once kneaded, the dough should look smooth and feel elastic when gently stretched. If it feels sticky, let it rest for 10 minutes before kneading again.
2. Why is my sourdough sandwich bread dense?
Dense bread usually comes from weak starter, under-proofing, or too much flour. Make sure your starter is active and let the dough rise until it looks noticeably puffy.
3. Is an overnight rise okay for this dough?
Yes. You can let the first rise happen overnight if your kitchen is cool. For a longer schedule, place the shaped loaf in the fridge overnight, then bake it the next day after it warms and rises.
4. Can I substitute all purpose flour for bread flour?
Yes, but the loaf will be a little less chewy and a bit more soft. Bread flour gives better structure, especially for sandwich slices.
5. How do I get even slices?
Wait until the loaf has cooled fully, then cut it with a sharp serrated bread knife for neat slices. If you slice while the loaf is still hot, the crumb may tear or turn gummy.